
Hello,
My name is Mister Linen.
One of the most noticeable problems caused by my expanding waistline is that the waist of my pants has become tight.
When it comes to tailored trousers or slacks, most tailors can let out the waist by a few centimeters (about 2–3 cm / 0.8–1.2 inches) for around 35 USD. (Please know the prices in this article are the ones in Japan and converted to USD.)
Denim, however, is a completely different story.
Unlike slacks, denim usually has no seam allowance.
This article introduces every realistic method I could find for widening the waist of denim jeans.
Some methods are expensive but allow for more adjustment. Others cost almost nothing.
Ideally, most of us want the cheapest possible solution.
I hope this article helps you choose the right alteration method depending on your budget and how much extra room you need.
目次
Method 1: Adding Fabric to the Waist
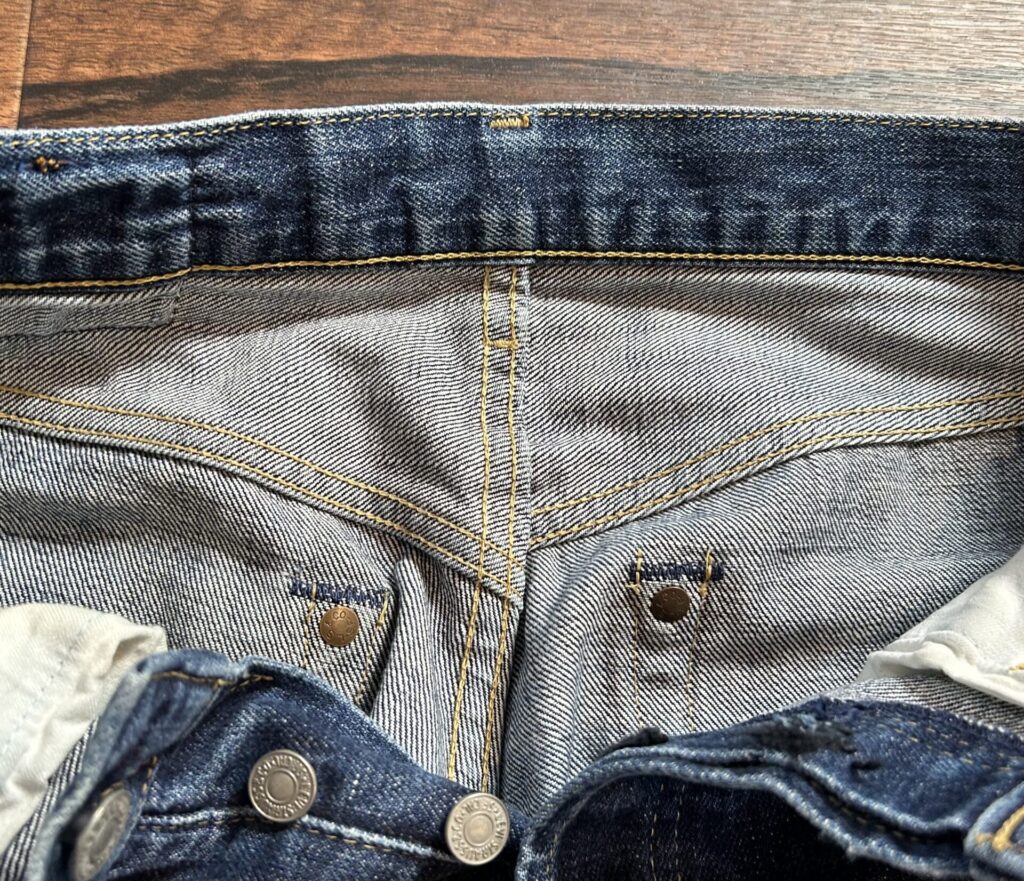
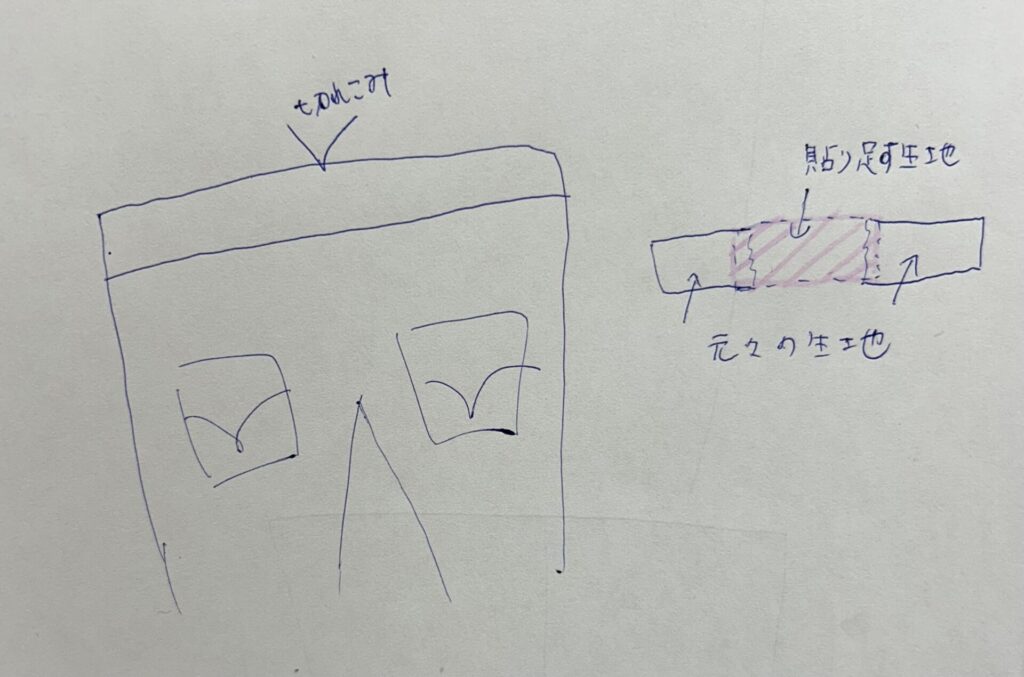
The first method is adding fabric.
This involves cutting the denim at the waist and inserting an additional piece of denim fabric, often using leftover fabric from hemming the same pair.
This method is the most expensive, but it is also the least noticeable and allows for the largest increase in waist size.
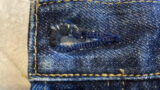
The best place to add fabric is behind the leather (or paper) patch at the back waist.
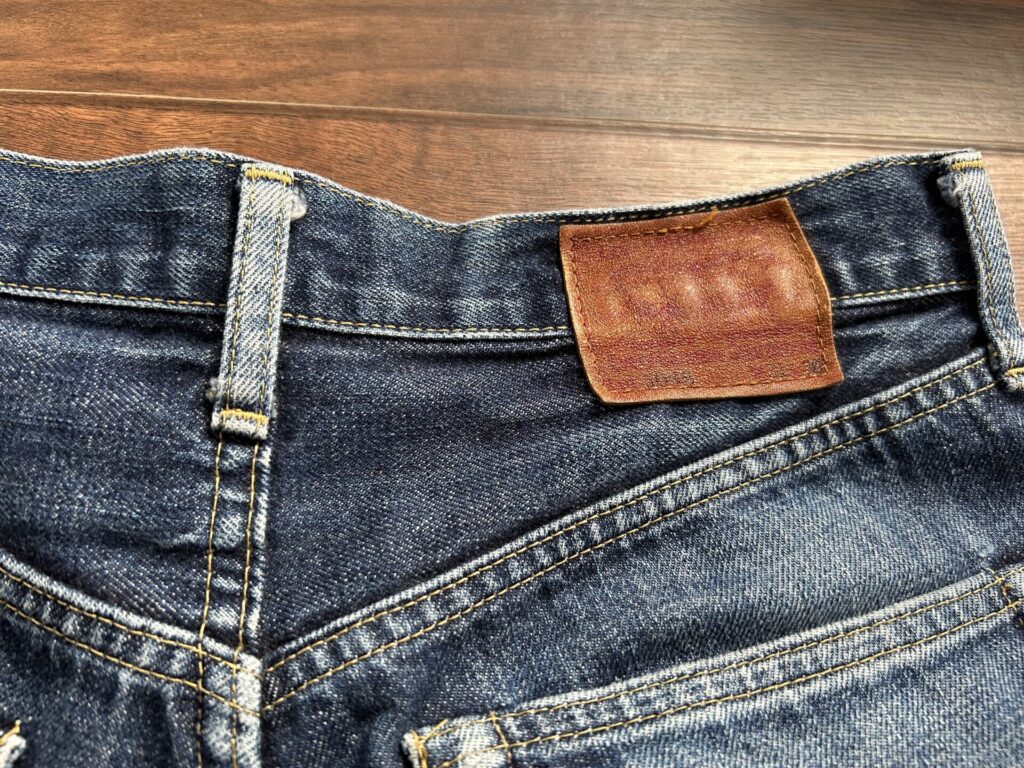
By hiding the added fabric under the patch, the alteration becomes much less noticeable.
If the jeans do not have a leather patch, adding fabric at the side seams is the next best option.
Wearing a belt also helps conceal the alteration.
Based on inquiries to multiple repair shops, the cost is around 65-70 USD.
That said, if the waist feels tight, the seat (hip area) is often tight as well.
Letting out only the waist keeps costs relatively low.
However, widening the seat requires opening the side seams and inserting triangular fabric panels.
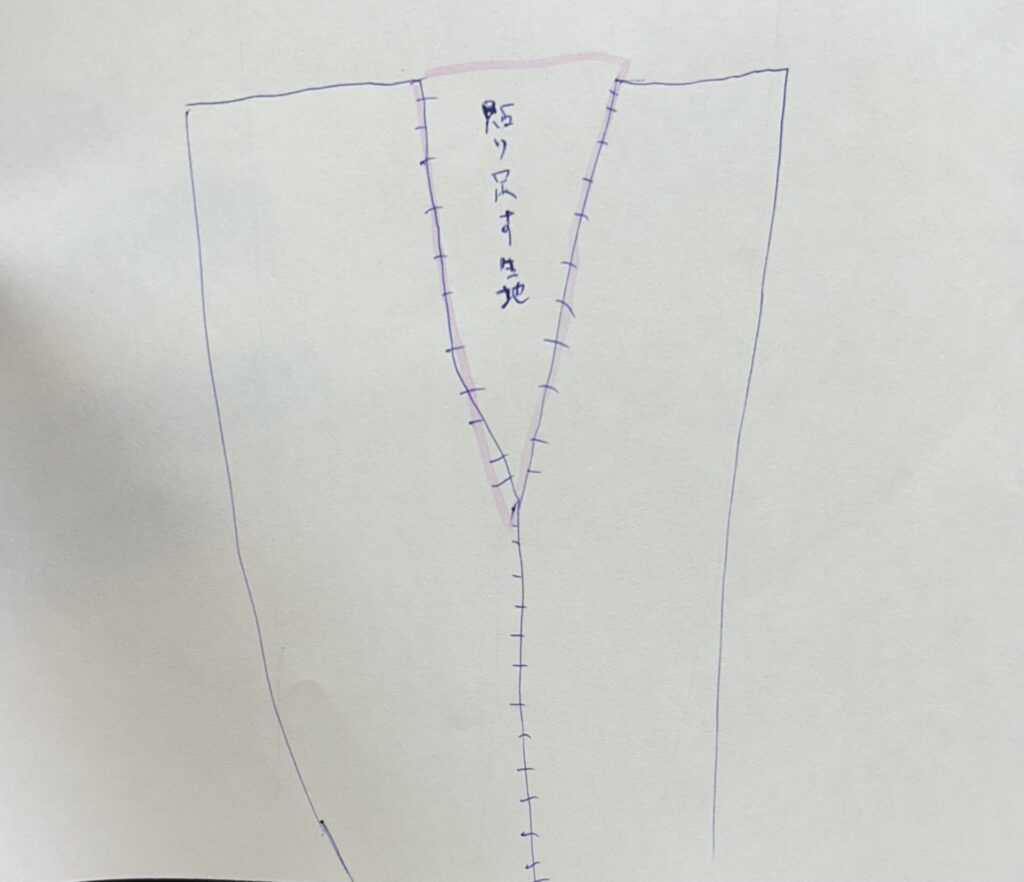
In this case, the added fabric becomes visible when you tuck in your shirt. Even with a belt, it cannot be hidden.
For waist + seat alterations, the cost usually rises to 100–135 USD.
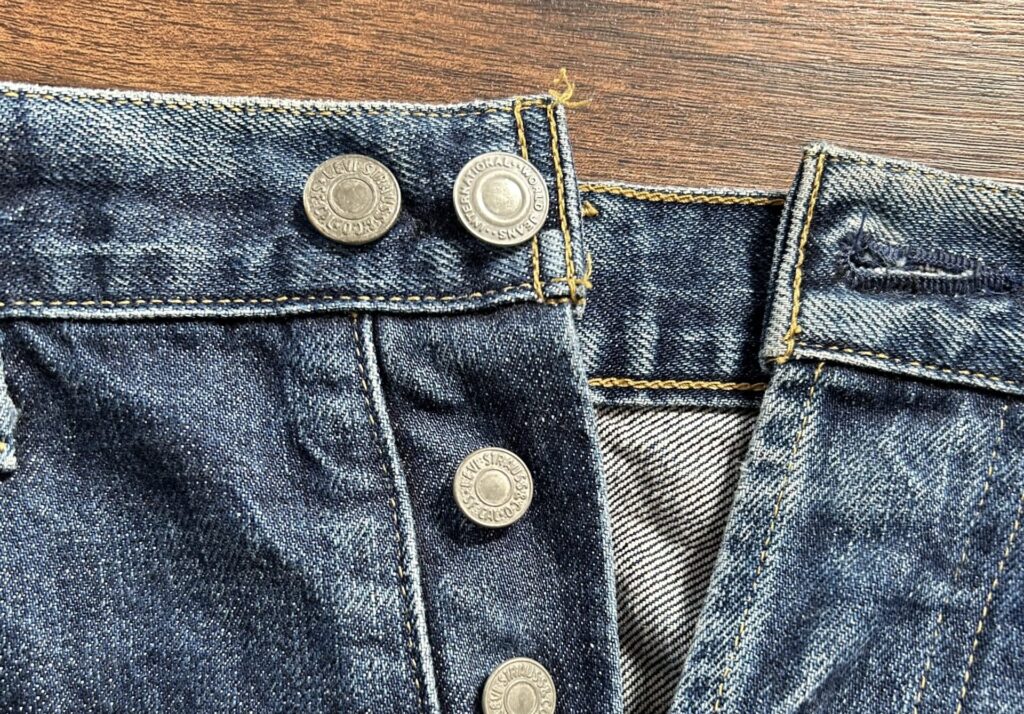
Method 2: Moving the Button Position
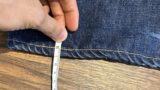
The second method is moving the top button outward.
You remove the original top button and reattach it as far outward as possible.

This typically allows you to gain about 1 inch (approximately 2.5 cm), which is roughly one size up.
However, only the top button can realistically be moved.
While this increases the waist circumference, it does not increase room in the seat.
Other buttons sit too close to the edge of the fabric, and moving them further risks tearing the denim or exposing the fly area.

If the original button placement is relatively inward, this method works well.
Naturally, this method does not apply to zipper-fly jeans.
One important drawback:
Metal denim buttons cannot be reused once removed.
Unlike sewn buttons, once a riveted denim button is taken off, it must be replaced.
For example, with Levi’s jeans, you will usually end up using an aftermarket button.
Some repair shops stock original brand buttons, but this typically costs extra.
Method 3: Adding an Extra Button
This method is similar to Method 2, but instead of removing the original button, you add a new button.
If you later lose weight, no additional repair is required.
However, this method has a clear downside. Even when fastened, the original button remains visible and looks awkward.
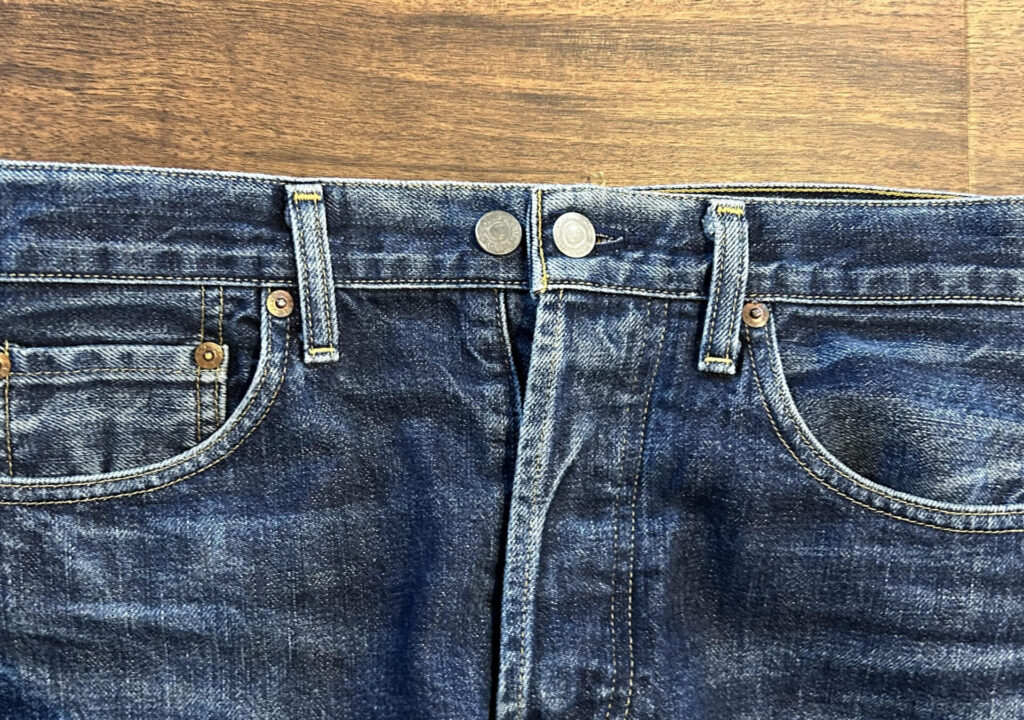
If you always wear a belt, this may not matter, as the belt hides the buttons.
Method 4: Doing Nothing (Yes, Really)
The final method is doing absolutely nothing.
This is not a joke.
Simply leave the top button unfastened and wear the jeans with a belt.
As long as you are wearing a belt, most people will never notice.
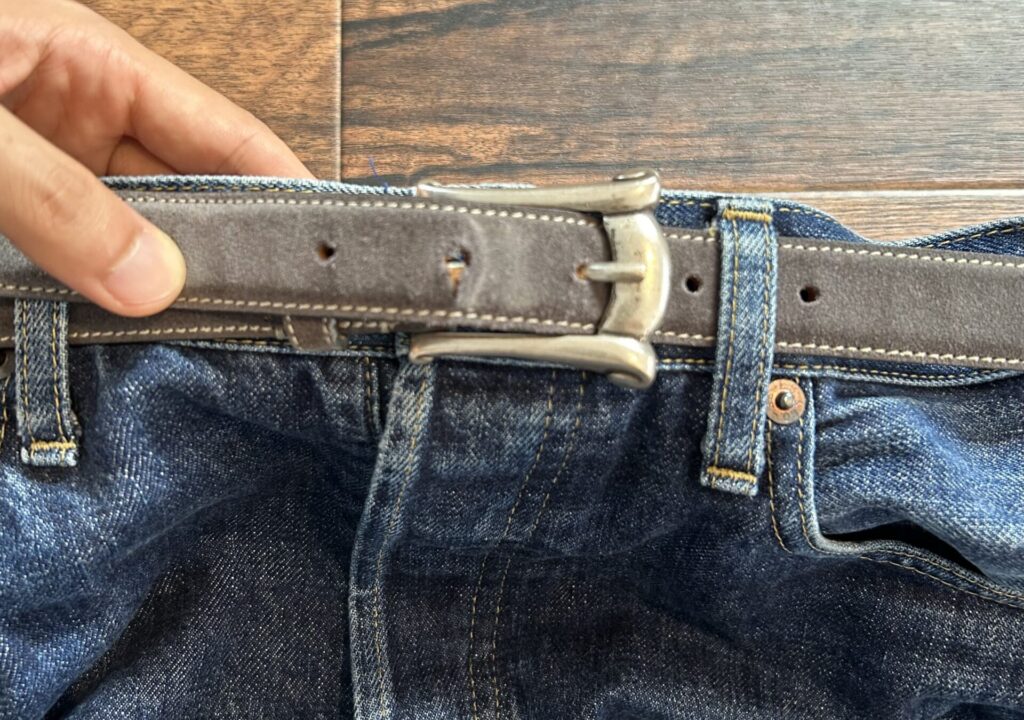
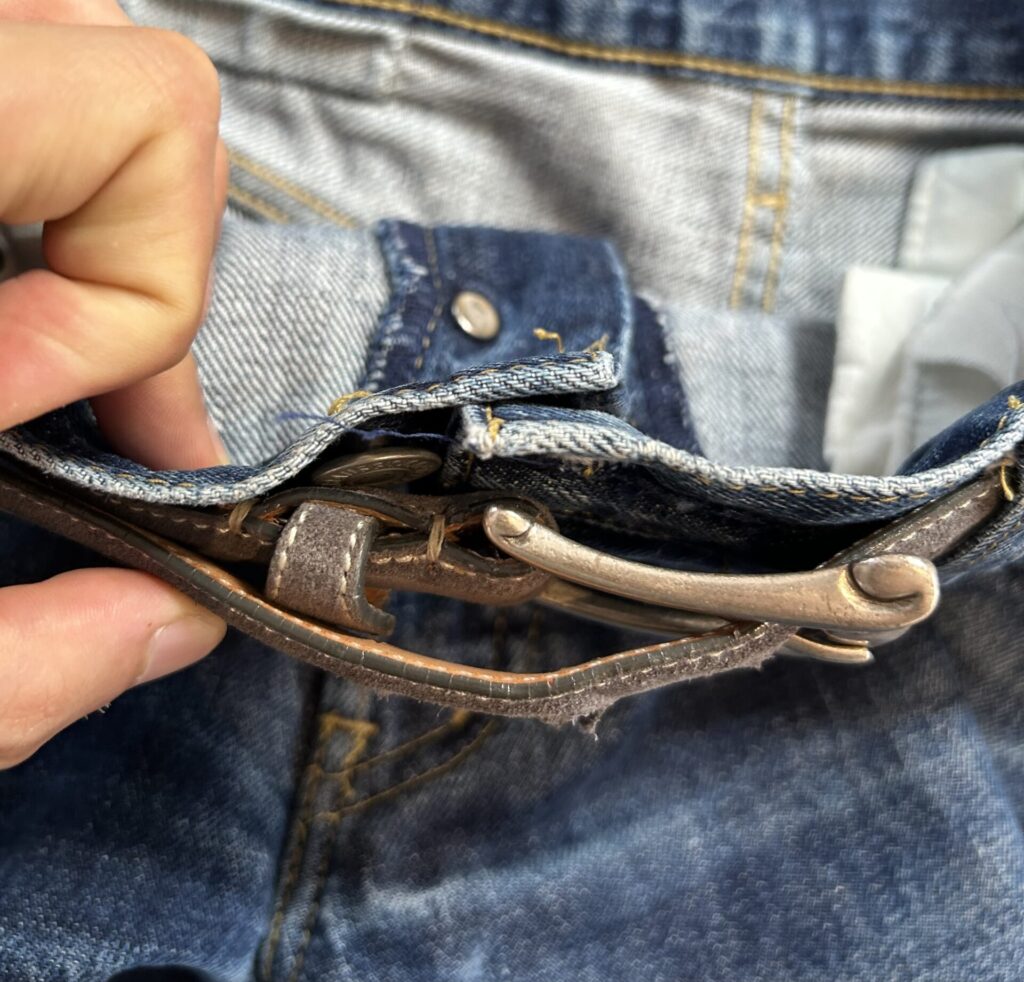
This method actually provides more room than moving the button, and it costs nothing at all.
Conclusion
I have introduced four different methods. Did any of them suit your situation?
Personally, I would start with Method 4 (leaving the button undone) and wear a belt.
If I wanted to wear jeans without a belt, I would choose Method 2 (moving the button).
If the seat area also became unbearably tight, only then would I consider Method 1 (adding fabric).
Because adding fabric is expensive and difficult to reverse, I prefer to avoid it whenever possible.
As for Method 3 (adding a button), it simply does not look good. I have tried it myself and am considering removing the original button.
If you know of any other methods not mentioned here, please let me know in the comments.
Thank you very much for reading.

コメント