
目次
About the Color of Edge Stitching
Hello, my name is Mr. Linen.
When choosing the color of leather shoes, one important element is the color of the stitching along the edge.
By “edge,” I mean this part here.
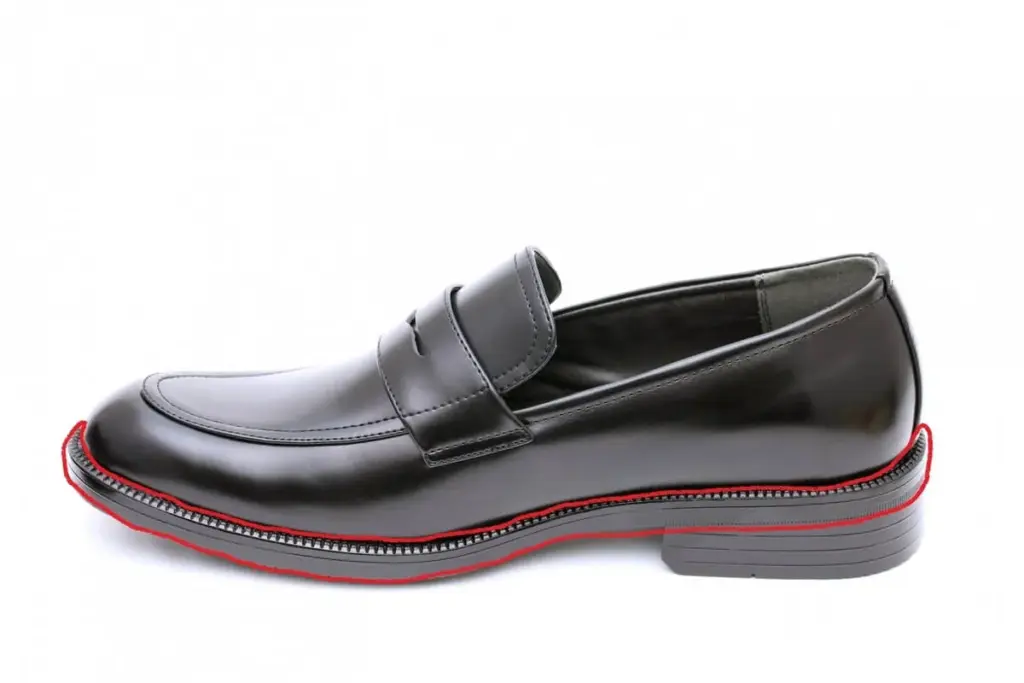
In most cases, the stitching is black or dark brown, matching the edge, so it does not stand out.
However, sometimes the stitching is a lighter color, such as white or beige.
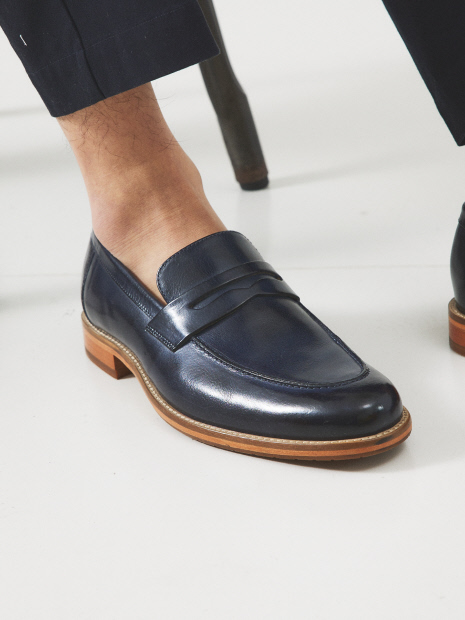
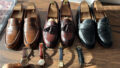
On light-colored leather shoes like these white ones, I think the combination works well,
but when it comes to dark-colored leather shoes, only the edge stitching stands out, giving a more casual impression.
Casual is not necessarily bad, but when paired with a classic suit, the shoes alone feel casual, and I find the balance off.
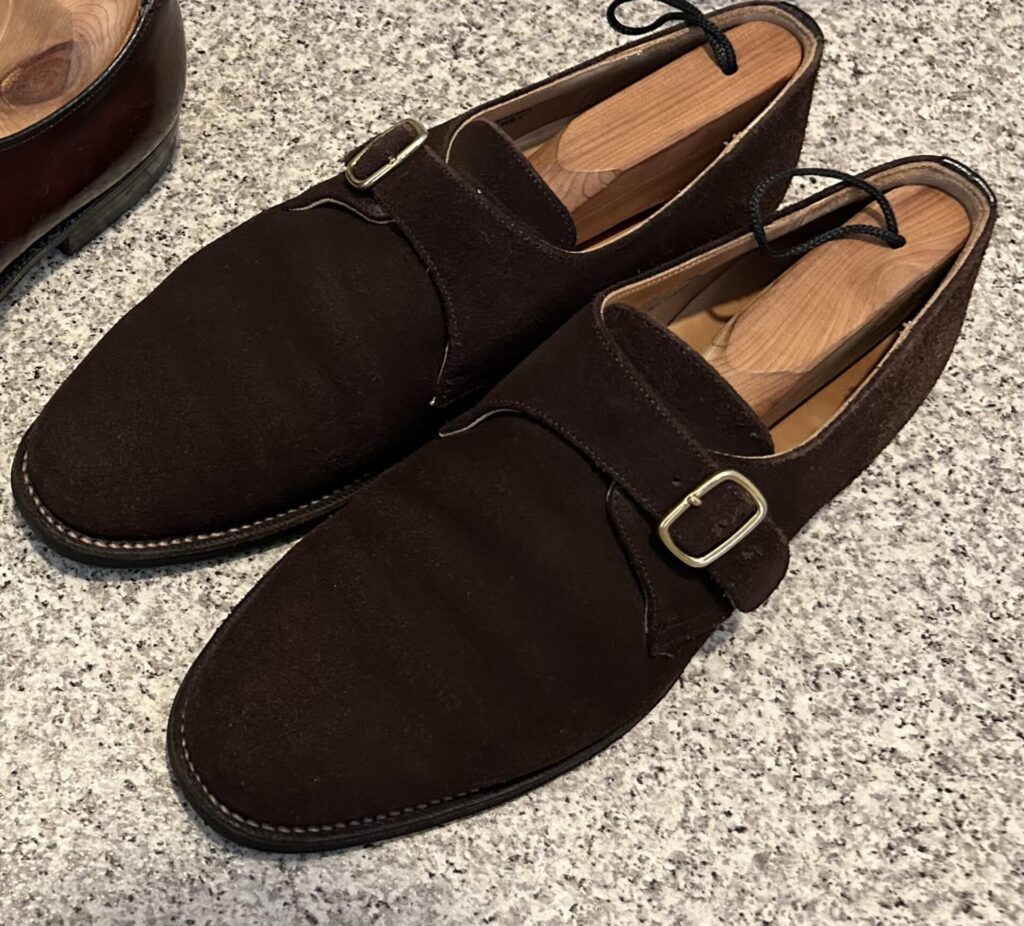
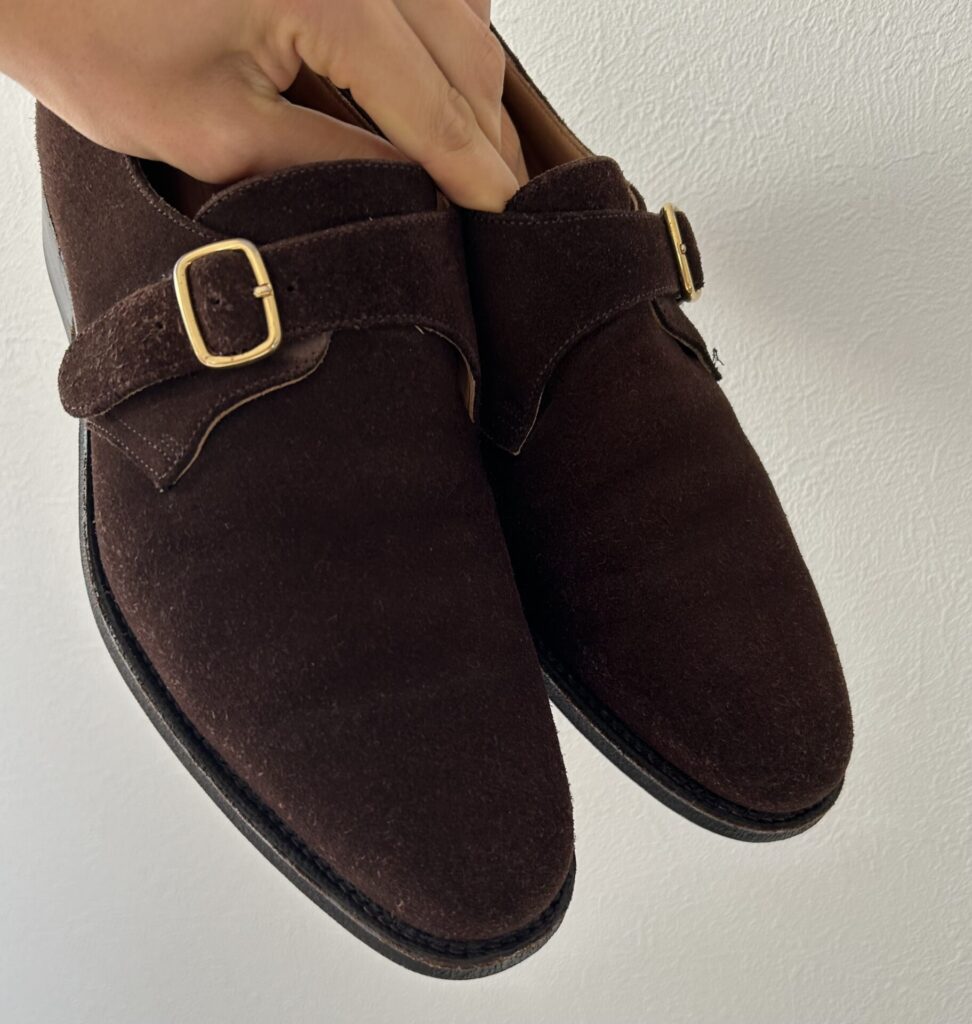
Beige Stitching on Dark Brown Single Monk Shoes
With more casual leather shoes, some brands intentionally use light-colored stitching on dark shoes,

or even color the entire edge in a lighter tone.
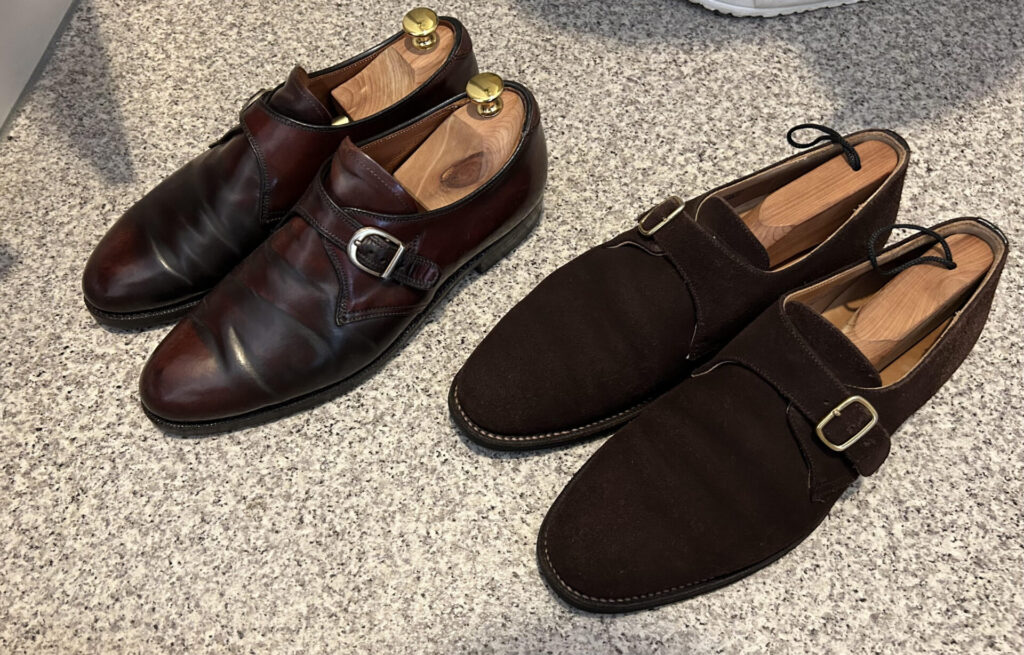
My dark brown suede single monk strap shoes also came with beige stitching.
These are a secondhand pair of Church’s Beckett, and since this model is not particularly casual, it is unlikely that beige stitching was the original specification.
This is just my assumption, but I believe the previous owner either changed the stitch color during a resoling, or requested it intentionally.
I really like the shoes themselves, but the stitch color kept bothering me, so I started thinking about what I could do.
Three Ways to Change the Stitch Color
One option would be to take them to a cobbler, resole them again, and specify a darker stitch color, but that would cost around $100.
Since the sole was not worn out beyond use, I ruled out resoling.
The next option was to dye the entire edge, including the stitching, black.
I vaguely knew that the edge could be dyed black using special ink.
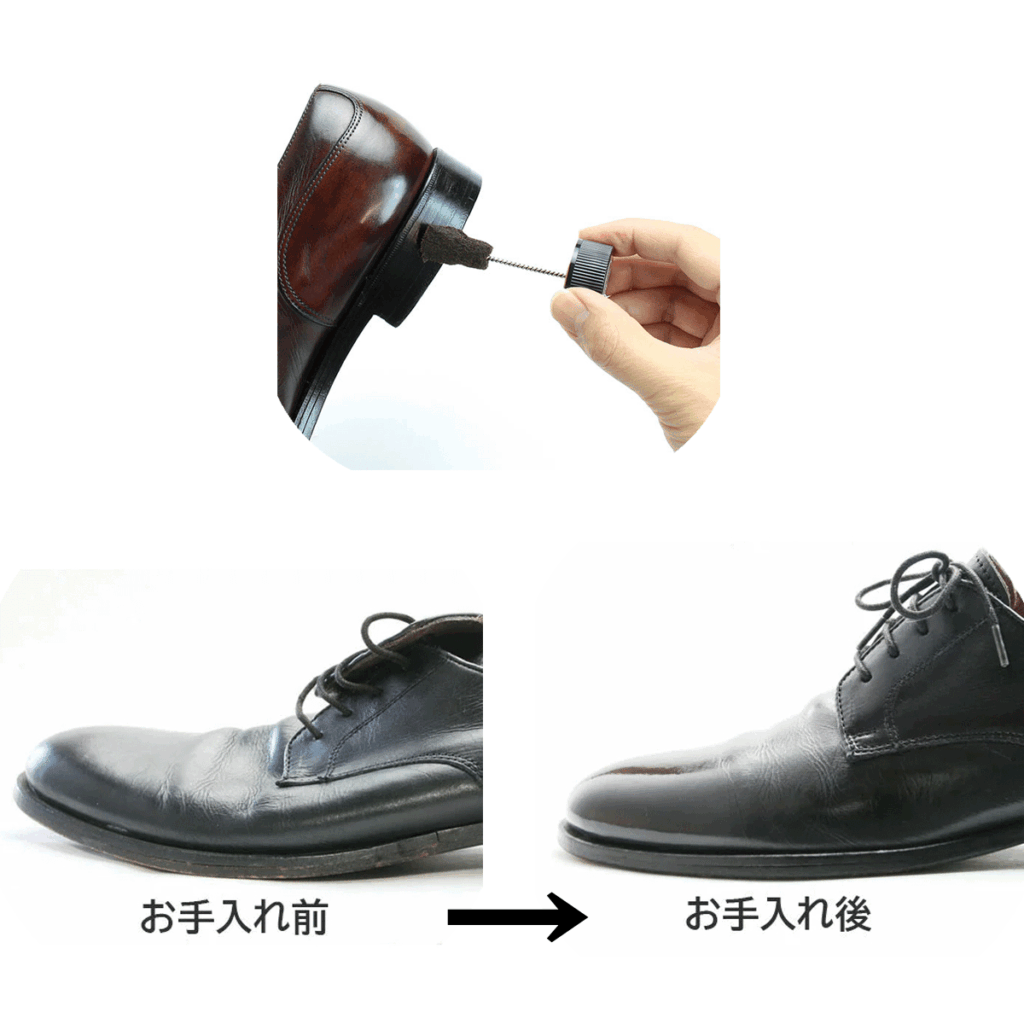
The ink itself costs only around $7, so price was not an issue.
However, since the stitching sits in narrow grooves, there is a high risk of getting ink on the suede upper while dyeing.
So I eliminated this option.
The final option was to dye only the stitching black.
There may be special pens for this purpose, but since I would be coloring thread rather than leather, I decided a regular oil-based marker would be sufficient.
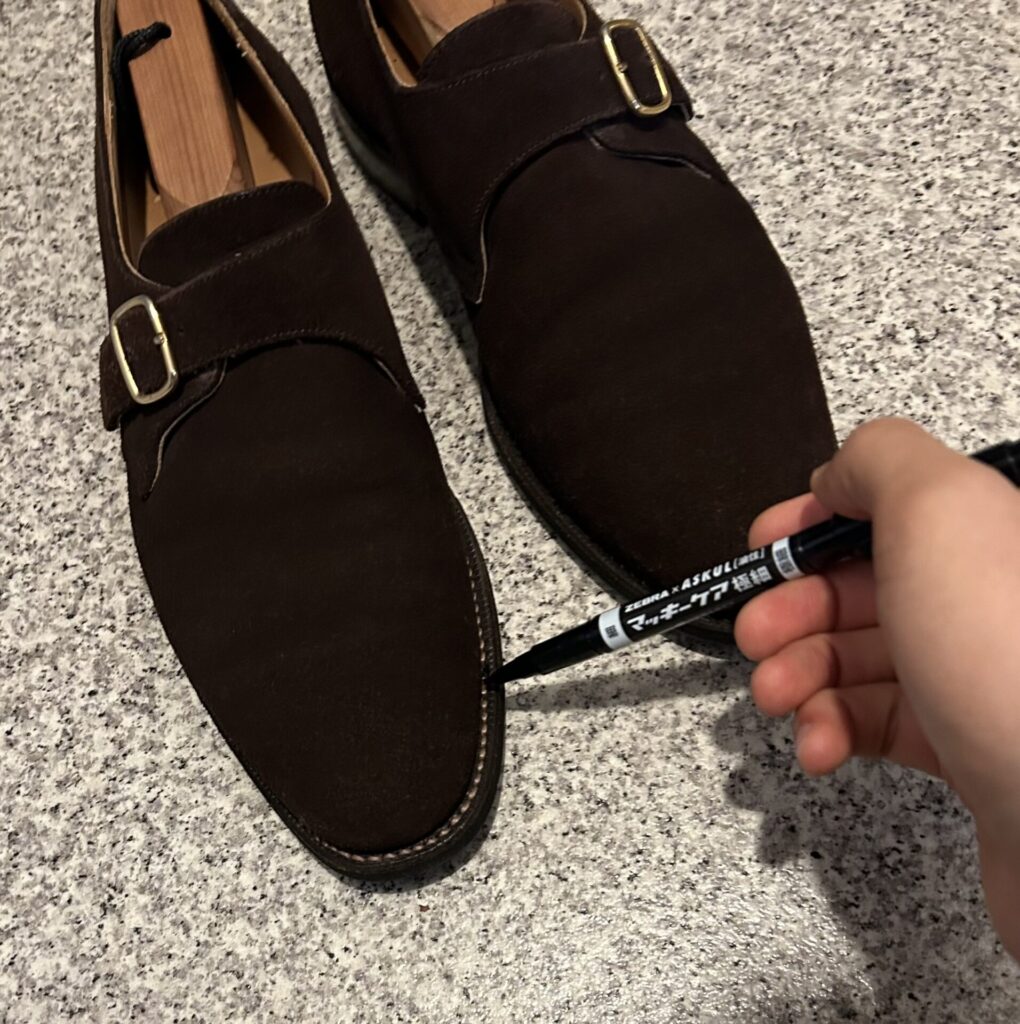
Actually Trying It Out
I thought it would be simple—just draw one continuous line and be done—but it turned out to be more time-consuming than expected.
The reason was the valleys between each stitch.
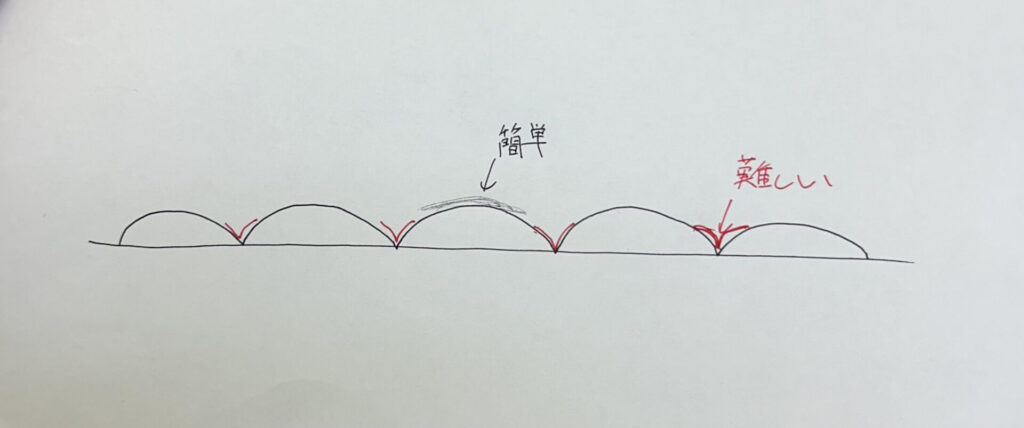
The raised parts were easy, but pushing the tip of the pen into the recessed areas and fully dyeing them was quite tedious.
Far from a single stroke, I had to run the pen back and forth about five times per stitch, and dab the valleys carefully.
On top of that, I had to be extremely careful not to touch the upper with the pen, which made it even more stressful.
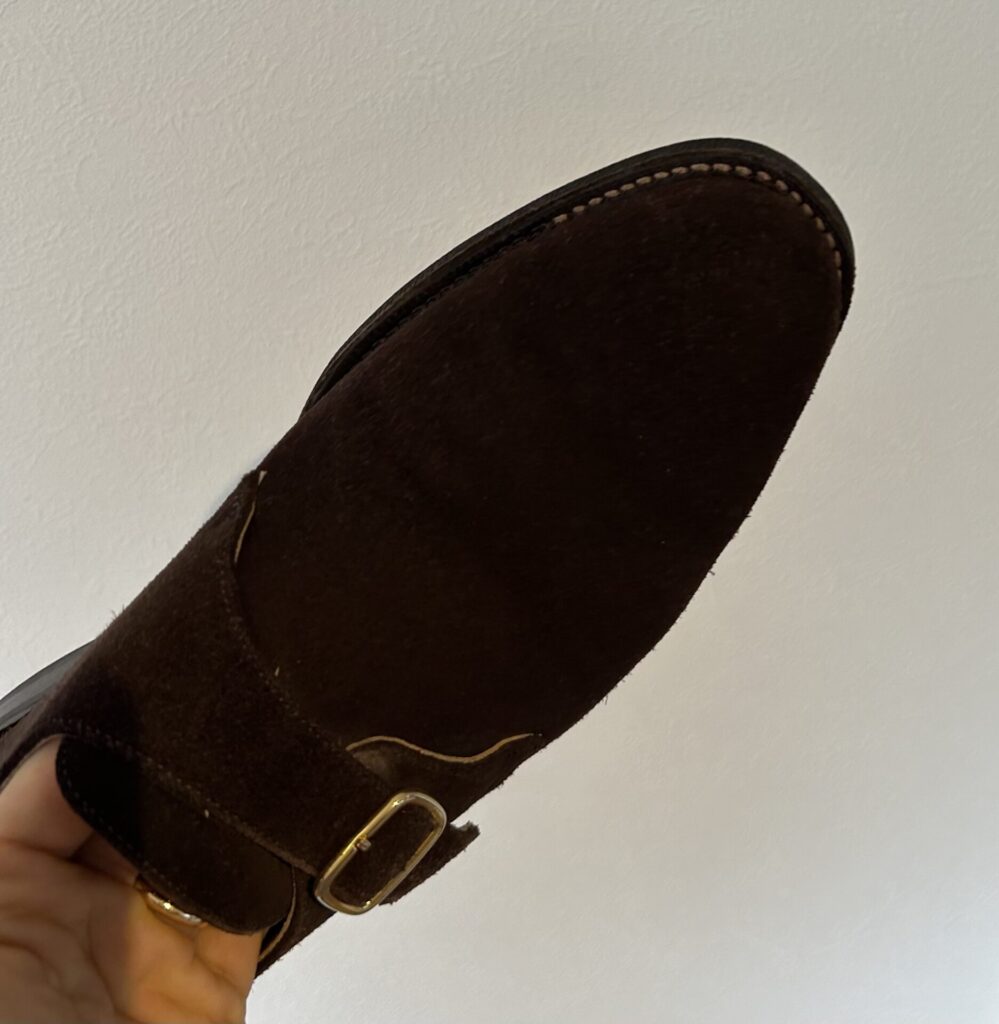
Conclusion
It took about 10 minutes for both shoes, and this is the final result.
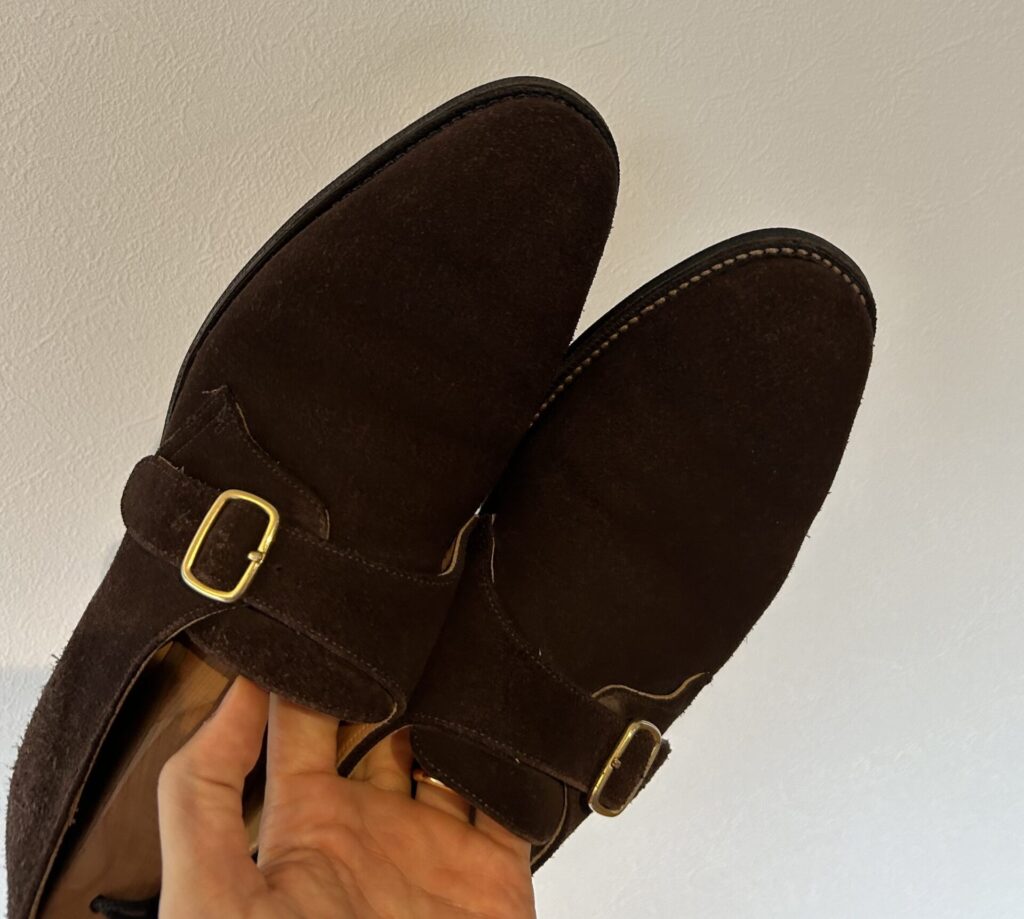
Not bad at all, right?
It honestly looks as if the stitching was originally black.
Even if I wear them outside, I don’t expect the color to fade anytime soon.
One important point: make sure to use an oil-based marker.
If the shoes are never worn in the rain, a water-based pen might work, but I wouldn’t recommend it.
That said, with an oil-based pen, if you accidentally mark the upper, it will probably be impossible to remove.
If you’re dealing with the same issue, I hope this helps—give it a try.
That’s all.
コメント